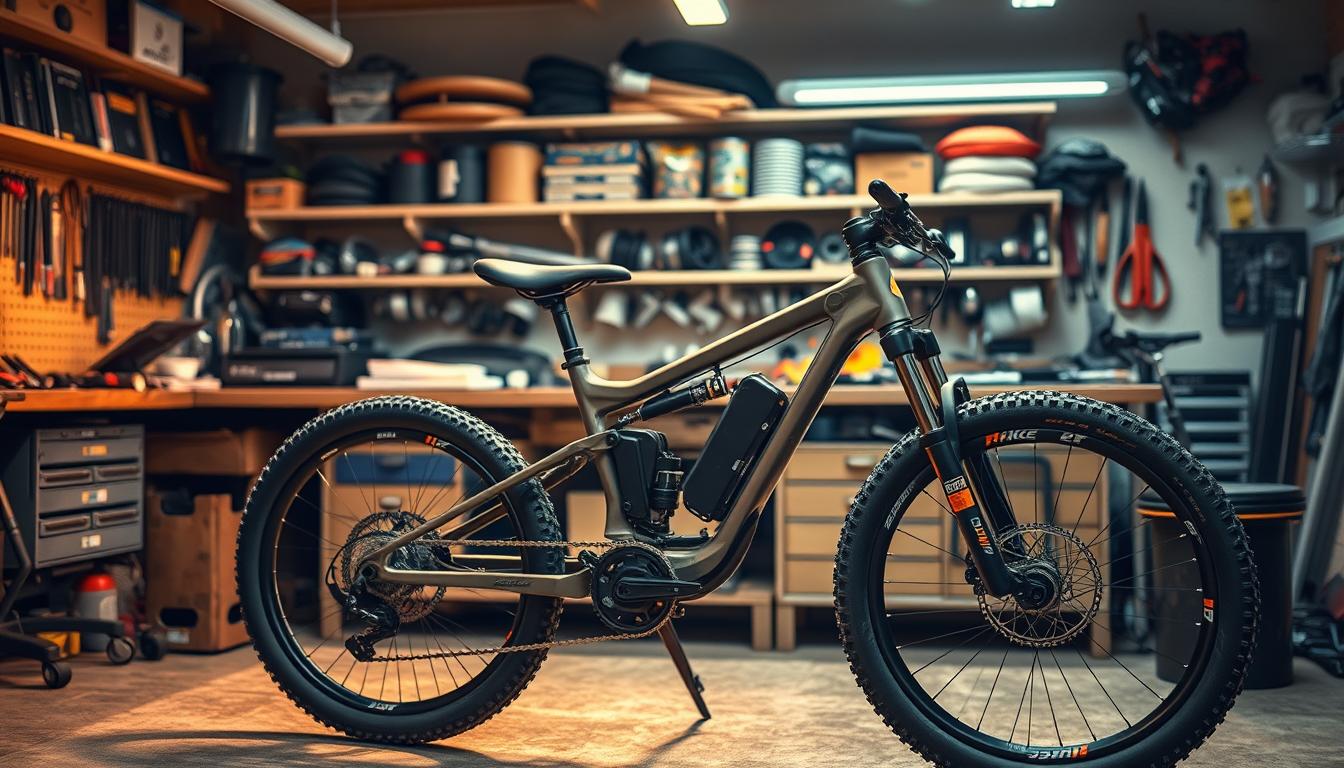
Learning how to adjust your e-MTB’s suspension is key to a better ride. Every trail lover knows that the right suspension makes all the difference. It turns a bumpy ride into a smooth, controlled journey1.
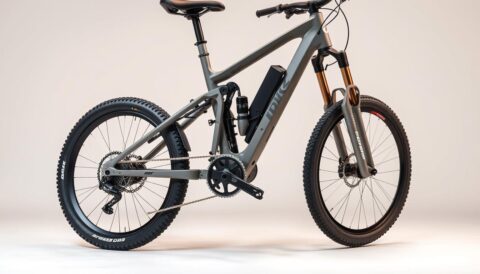
E-MTBs have different suspension setups, like front, rear, or full suspension. Each one is made for different riding styles and terrains1. Whether you’re on smooth city streets or rough mountain trails, knowing how to adjust your suspension is essential.
The right suspension setup makes riding more comfortable and improves control. You can choose from short-travel suspensions for easy rides or long-travel ones for tough terrains1. It’s not just about comfort; it’s about feeling connected to your bike.
Each riding style needs its own suspension setup. Marathon riders might prefer a tighter setup with 20-25% sag. Downhill riders might choose 30-40% sag for better traction and stability2. Knowing this helps you find the perfect suspension for your style.
This guide will simplify suspension adjustment for all riders. We’ll cover everything from sag percentages to air pressure. You’ll learn to make your e-MTB a finely tuned machine that meets your riding needs3.
Understanding E-MTB Suspension Basics
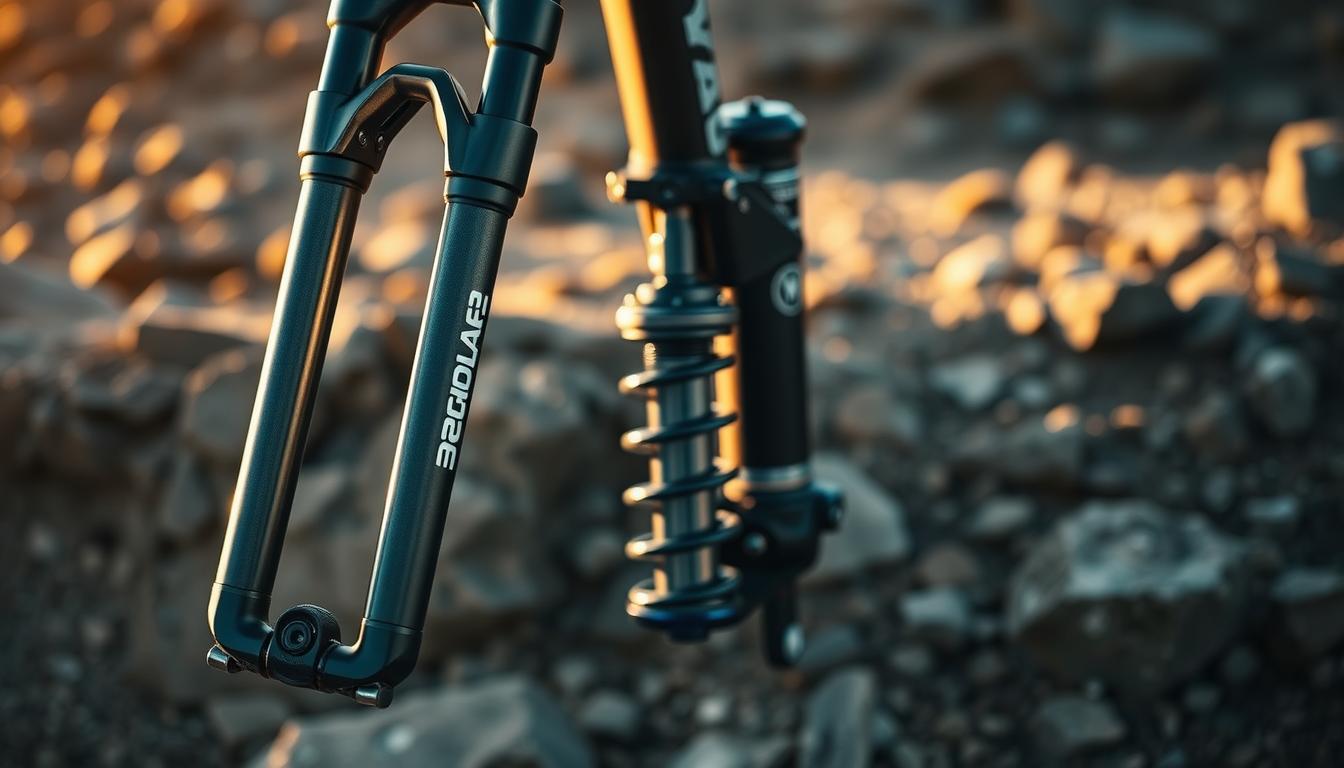
Electric mountain bikes (e-MTBs) use advanced suspension systems for a smooth ride. These systems have springs and dampers. They work together to handle bumps and keep the bike stable4.
The Fundamental Mechanics of Suspension
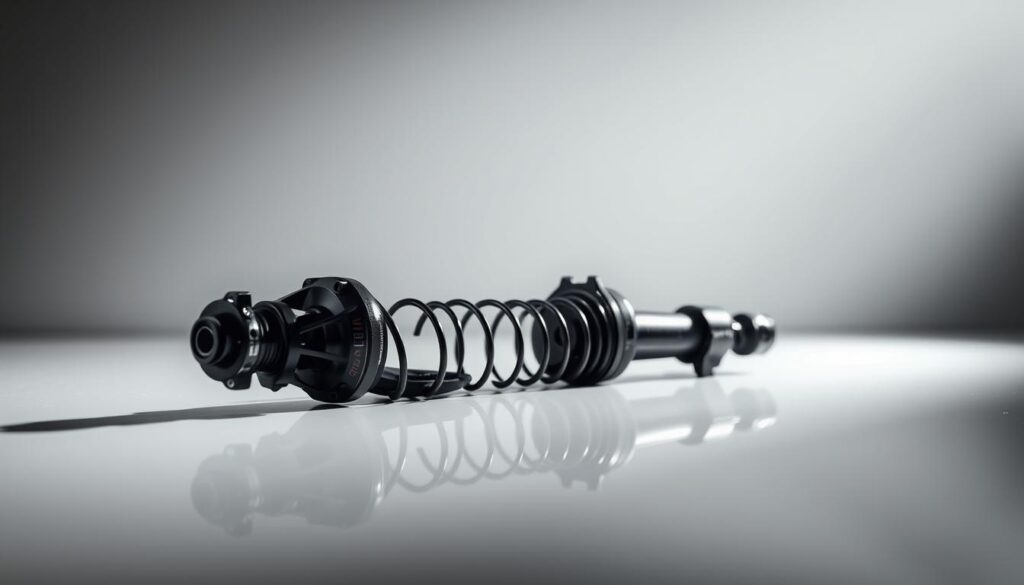
Suspension springs and dampers are key to an e-MTB’s performance. Springs take the first hit, while dampers control the spring’s movement. This keeps the bike stable and prevents it from bouncing too much5.
- Springs convert kinetic energy into stored energy
- Dampers turn kinetic energy into heat
- Together, they handle vibrations from the terrain
Critical Components of E-MTB Suspension
An effective suspension system has several important parts:
| Component | Function |
|---|---|
| Front Fork | Absorbs impacts from the front wheel |
| Rear Shock | Controls the rear wheel’s movement |
| Air Spring | Offers adjustable support |
| Rebound Damper | Controls how fast the suspension returns |
Why Suspension Setup Matters
Getting your suspension right is key for a good ride. The best setup depends on your weight, how you ride, and the terrain6. Aim for 20% sag in front forks and 30% in rear shocks4.
Expert riders know that balanced suspension is essential. It boosts traction, control, and fun5.
Essential Tools for Suspension Adjustment
Getting ready for e-MTB suspension adjustment means having the right suspension adjustment tools. A good shock pump is key for setting the air pressure just right7.
- Digital shock pump with accurate pressure readings
- Vernier caliper or measuring tape
- Calculator for precise calculations
- Suspension sag measuring device
- Torque wrench for secure component adjustments
Different suspension types need different approaches. Basic suspensions have fewer adjustments, while top models offer more fine-tuning8. The adjustment mechanisms can be simple or very complex8.
| Tool | Purpose | Recommended Precision |
|---|---|---|
| Shock Pump | Air Pressure Adjustment | ±1 PSI |
| Measuring Device | Sag Measurement | 20-30% Travel |
| Torque Wrench | Component Securing | Manufacturer Specifications |
Choose tools that are accurate and fit your e-MTB model. Some riders might need extra spacers or special tools for their suspension9.
What is Suspension Sag and Why It’s Important
E-MTB suspension sag is key to a great ride. It’s how much your suspension compresses when you’re not moving10. Knowing about e-MTB suspension sag helps you ride better and feel more comfortable on different terrains.
Measuring sag is about finding the right balance. The perfect sag depends on your bike’s suspension:
Understanding Sag Percentages
To figure out sag, just do some math. Divide the compression by total travel to get your percentage10. For example, 20mm of sag on a 100mm fork is 20%10.
Impact on Riding Performance
Wrong sag can mess up your ride. Too little makes your bike stiff and tiring10. Too much can make it slow and might even damage your suspension11.
Measuring Sag Correctly
Getting the right sag measurement needs some skill. Start with the right pressures:
Always cycle your suspension after adjusting air pressure for accurate readings10. The right sag makes your e-MTB ride go from good to great.
Preparing Your E-MTB for Suspension Setup
Getting your electric mountain bike ready for suspension starts with a detailed check-up. Experts say doing pre-adjustment checks is key for top performance and safety12. With an e-MTB weighing 7-10 kg, you need to be extra careful12.
Before you start adjusting the suspension, make sure to do these important checks:
- Clean all suspension parts well
- Look for any damage on seals and stanchions
- Check the air pressure in the fork and rear shock
- Make sure all adjustment knobs work right
Understanding your e-MTB’s special needs is part of the prep work. Josh Carlson, a pro athlete, suggests looking closely at your bike’s specific needs12. Different e-MTBs might need different suspension setups, based on their weight and how they’re used.
Proper preparation is the foundation of an excellent suspension setup.
Important things to think about when getting your e-MTB ready for suspension include:
| Aspect | Recommended Check |
|---|---|
| Fork Sag | 20-25% recommended13 |
| Rear Shock Sag | 30-35% recommended13 |
| Spring Weight | Adjust for extra e-MTB weight12 |
Experts say e-MTB suspension prep is not a one-size-fits-all job. Each bike needs its own special care to perform well on different trails12.
How to Adjust E-MTB Suspension
Learning how to adjust e-MTB suspension is key to a great ride. The right tuning can make a big difference. It ensures your bike performs well on all terrains and riding styles.
Adjusting e-MTB suspension involves several important steps. Precision is key for the best comfort and control.
Step-by-Step Adjustment Process
Here are the essential steps to tune your e-MTB:
- Check initial air pressure for your weight and riding style14
- Measure and set correct sag percentage
- Adjust rebound damping for smooth wheel movement15
Finding the Right Balance
Finding the right balance in suspension settings is all about detail. Different riding styles need different settings:
| Bike Type | Front Sag | Rear Sag |
|---|---|---|
| Cross-Country | 10-15% | 15-20% |
| Enduro | 20-25% | 25-30% |
| Downhill | 25-28% | 25-35% |
Remember: Your suspension should provide a single, smooth return to position without excessive bouncing.
Common Adjustment Mistakes
Avoid these common mistakes when adjusting e-MTB suspension:
- Ignoring rider weight when setting air pressure
- Overlooking terrain-specific suspension needs
- Failing to test and fine-tune settings
Take the time to learn about your e-MTB’s suspension. Try different settings and keep track of what works best for you.
Setting Up Front Fork Suspension
Getting the perfect e-MTB fork setup is key for a great ride. Front suspension adjustment needs careful detail and a step-by-step approach16.
Understanding sag is the first step in adjusting front suspension. Aim for a fork sag of 15% to 20%, with 18-19% being the best16. This ensures your e-MTB handles different terrains well.
- Measure rider weight accurately
- Use a suspension calculator for initial settings
- Check sag with a variance of 2-4 mm17
Setting the right air pressure is vital for front suspension. Start with the Trek Suspension Calculator to find your initial PSI based on body weight17. For a 170mm travel fork, aim for about 30mm of sag, which is an 18% setting16.
Adjusting compression and rebound needs careful tweaking. Start with compression damping in the ‘open’ position17. Adjust in small steps of 1-3 clicks to find your perfect setting17. Remember, personal preference is a big factor in suspension setup17.
Maintenance is also key for top front suspension performance. Clean the stanchions and rubber seals regularly. Use a mild cleaner and a thin e-bike lubricant18. This keeps your suspension working well and lasts longer.
Adjusting Rear Shock Suspension
E-MTB rear shock adjustment is key for a better ride. Getting your rear suspension right can change how your bike handles different terrains. It makes sure you’re comfortable and in control.
First, understand the role of sag in rear suspension. Most trail and enduro bikes need about 30% sag. This mix of grip and quick response is ideal1920.
Finding Optimal Rear Sag
To figure out rear sag, follow these steps:
- Measure the total travel of your suspension
- Find out how much compression you get from your weight
- Work out the percentage of travel used
For accurate measurements, use the O-ring method. If the O-ring moves 15mm on a 50mm travel, your sag is 30%20.
Shock Pressure Guidelines
Here are some important tips for setting up your rear suspension:
- Small air pressure tweaks (3-5 psi) can make a big difference19
- Change pressure in 5-10 psi steps
- Compress the shock 10-20% after each tweak to balance air chambers19
Pro tip: Heavier riders might need bigger spacers for better support at the bottom19. Be careful and find what works best for you.
Understanding Rebound Damping
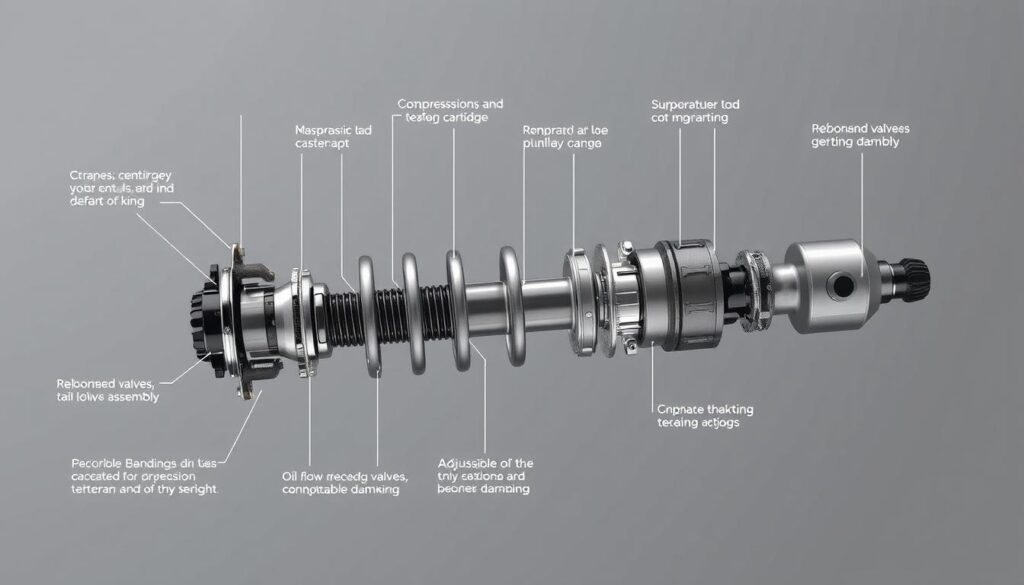
Rebound damping is key for e-MTB suspension. It controls how fast your suspension goes back to its original shape after being squished21. Knowing about e-MTB rebound damping can make your ride better and your bike easier to control22.
The main job of suspension rebound adjustment is to control how fast your suspension goes back up after hitting something. If it’s too slow, your bike feels heavy. If it’s too fast, it bounces too much, making it hard to control and uncomfortable21.
- Rebound speed affects bike handling and rider comfort
- Proper adjustment prevents wheel bounce
- Influences overall trail performance
When you’re adjusting suspension rebound, keep these things in mind:
- Rider weight: Heavier riders need slower rebound settings23
- Terrain type: Different trails need different rebound settings
- Riding style: Aggressive riders might want different settings than casual riders
Most modern suspension systems let you adjust low-speed and high-speed rebound separately. This means you can fine-tune it22. It’s best to change only one setting at a time to see how it affects things22.
Pro tip: When checking rebound, make sure your fork goes back quickly after an impact without bouncing the front wheel off the ground23.
Compression Damping Explained
Compression damping is key for e-MTB suspension. It shows how your bike tackles terrain. This tech controls impact absorption and rider input in various conditions24.
To grasp e-MTB compression damping, you need to know about two main areas: low-speed and high-speed compression. Each area has its own role in adjusting your suspension’s performance25.
Low-Speed Compression Settings
Low-speed compression deals with small terrain interactions. It mainly affects pedalling through turns or smooth trail sections25.
- Manages small bumps and rider movements
- Controls suspension during low-intensity impacts
- Influences bike’s stability during technical manoeuvres
High-Speed Compression Adjustments
High-speed compression is vital for aggressive riding. It’s important for landing jumps or rough terrain. These settings offer vital support during big impacts25.
- Handles substantial terrain challenges
- Prevents suspension from bottoming out
- Maintains bike’s dynamic ride height24
Adjusting suspension compression needs careful thought. Consider rider weight, style, and terrain24. Most e-MTBs have multiple adjustments for a custom ride25.
Fine-Tuning Air Pressure Settings
E-MTB suspension fine-tuning starts with adjusting air pressure. Knowing how air pressure affects your ride is key for the best performance26. The correct air pressure makes your e-MTB more responsive on various terrains27.
- Rider weight distribution
- Terrain characteristics
- Personal riding style
For effective suspension fine-tuning, follow these steps:
- Begin with the manufacturer’s recommended pressure
- Change it by 2-3 PSI at a time
- Test ride and check how the suspension feels27
| Riding Style | Front Sag | Rear Sag |
|---|---|---|
| Cross-Country | 15-20% | 20-25% |
| Enduro | 20-25% | 25-30% |
| Downhill | 25-28% | 25-35% |
Pro tip: Always cycle your fork through 25% of its travel about 10 times. This helps balance pressure between air chambers27.
Precision in air pressure adjustment can dramatically improve your e-MTB’s performance and comfort.
Volume Spacers and Their Impact
E-MTB riders can tweak their suspension with volume spacers. These small parts change how the suspension moves28. They let riders adjust the air spring’s volume and how it compresses29.
Volume spacers shrink the air chamber. This affects how the suspension moves. They make the suspension curve more progressive, meaning it gets harder to compress towards the end29.
- Add volume spacers to increase bottom-out resistance30
- Improve mid-stroke support during aggressive riding28
- Enhance small-bump sensitivity28
Riders can try different setups. Adding one volume spacer can make a big difference in how the suspension feels30. For example, lowering air pressure from 60psi to 55psi with a spacer can make the ride smoother over small bumps30.
| Volume Spacer Effect | Suspension Behaviour |
|---|---|
| Few Spacers | Potential excessive fork dive30 |
| Multiple Spacers | Risk of hitting progression “wall”30 |
Brands have their own ways of installing volume spacers. Rockshox spacers screw together, while Fox spacers slide and snap30. Always adjust in a clean area to avoid damaging your air spring28.
Pro tip: Adjust volume spacers bit by bit and test well to find your perfect suspension setup29.
Trail-Testing Your Suspension Setup
E-MTB suspension testing is key to seeing how your bike really performs. After setting up your suspension, the real test is on the trails. Mountain biking experts say it’s important to understand how your suspension works on different terrains31.
Adjusting your suspension on the trail takes patience and attention. Begin by riding trails you know well. Notice how your e-MTB handles different surfaces. You might need to make small changes to your suspension settings32.
It’s wise to ride at least twice to fully test and get used to your suspension changes31.
When you’re out testing, pay attention to traction, comfort, and control. Look out for signs of too much bouncing or harsh landings. If your bike feels like it’s bucking, try adjusting the rebound by turning the red knob 1-3 clicks clockwise32.
Remember, fine-tuning your suspension is a process that changes as you improve and find what works best for you32.
FAQ
What tools do I need to adjust my e-MTB suspension?
You’ll need a few tools for suspension adjustment. These include a high-pressure shock pump, a measuring tape or sag indicator, and a suspension calculator. Most riders can do basic adjustments with these tools, without needing a professional workshop.
How do I know if my suspension sag is correct?
The ideal sag percentage for most e-MTBs is 25-30% for the rear and 20-25% for the front. To measure, compress the suspension and check the travel used under your body weight while riding.
How often should I adjust my e-MTB suspension?
Check and adjust your suspension every few rides or when you notice changes in how it rides. Changes in weight, terrain, or riding style might need adjustments.
What’s the difference between compression and rebound damping?
Compression damping controls how the suspension compresses on bumps. Rebound damping manages how quickly it returns. Finding the right balance is key for a smooth ride.
Can I adjust my suspension without professional help?
Yes, you can! While a pro can help, most riders can make basic adjustments themselves. Start with small changes and test them. Always follow your e-MTB manufacturer’s guidelines.
How do air pressure and volume spacers affect suspension?
Air pressure affects the initial feel and sag. Volume spacers change the suspension’s progression. Adding spacers can make it feel more progressive, helping with big impacts and mid-stroke support.
What should I do if my suspension feels too soft or too stiff?
If it’s too soft, increase air pressure or add spacers. If it’s too stiff, decrease air pressure or remove spacers. Make small changes and test them on different terrains.
How does suspension setup differ for e-MTBs compared to traditional mountain bikes?
E-MTBs need more precise setup due to the motor and battery weight. Adjust sag, air pressure, and damping to handle the extra mass for better performance.
What are the signs that my suspension needs adjustment?
Look for signs like bobbing, poor traction, harsh bottom-outs, or discomfort. If the bike doesn’t handle terrain well or feels uncomfortable, it’s time to adjust the suspension.
Can I use the same suspension settings for different types of terrain?
Base settings can work on various terrains, but slight adjustments are best for different conditions. For example, use firmer settings for downhill and softer for smoother trails.
Source Links
- Perfecting E-Bike Suspension: A Comprehensive Guide
- How to adjust your MTB’s suspension | Simplon Magazine
- How to set up mountain bike suspension: forks and rear shocks – MBR
- How to set the SAG on your E-MTB Suspension in ten Minutes
- Set Up MTB Suspension: Key Tips for Forks and Rear Shocks
- Setup Guide – How to adjust your mountain bike suspension for optimal performance
- How do suspension settings change for e-Bikes
- HOW TO ADJUST YOUR MOUNTAIN BIKE SUSPENSION
- Setting up your mountain bike suspension: forks and shocks
- How to set your suspension sag for the perfect mix of grip and support
- How to Set Your Suspension Sag
- SUSPENSION 102: Setting Up Your EMTB – Australian Mountain Bike
- How do suspension settings change for e-Bikes
- Set Up MTB Suspension: Key Tips for Forks and Rear Shocks
- Mastering MTB Suspension: A Comprehensive Guide to Perfecting Your Ride
- Mountain Bike Suspension Setup: How To Set Sag, Compression & Rebound EP.1 [Video]
- How to set up mountain bike suspension – Trek Bikes (GB)
- How To Adjust Your Front Suspension Fork
- Flow’s guide for setting up your Fox shock | Suspension Tuning Tips Pt.2
- Suspension setup guide for mountain bikes | Simplon Magazine
- How to adjust the compression and rebound settings on your mountain bike
- Rebound & Compression: What’s What in MTB Suspension
- Flow’s guide for setting up your Fox fork | Suspension Tuning Tips Pt.1
- AASQ 153: How do Suspension Rebound and Compression Damping Adjustments Work?
- Suspension 101: Part III – Damping
- Mastering MTB Suspension: A Comprehensive Guide to Perfecting Your Ride
- How to Setup your Niner CVA Suspension
- Volume spacers – what are they and how they work
- What are volume spacers and how do you use them?
- Suspension 101: Part II – Volume Spacers
- How to Adjust Your Suspension on the Trail | Liv Cycling
- Suspension setup guide
