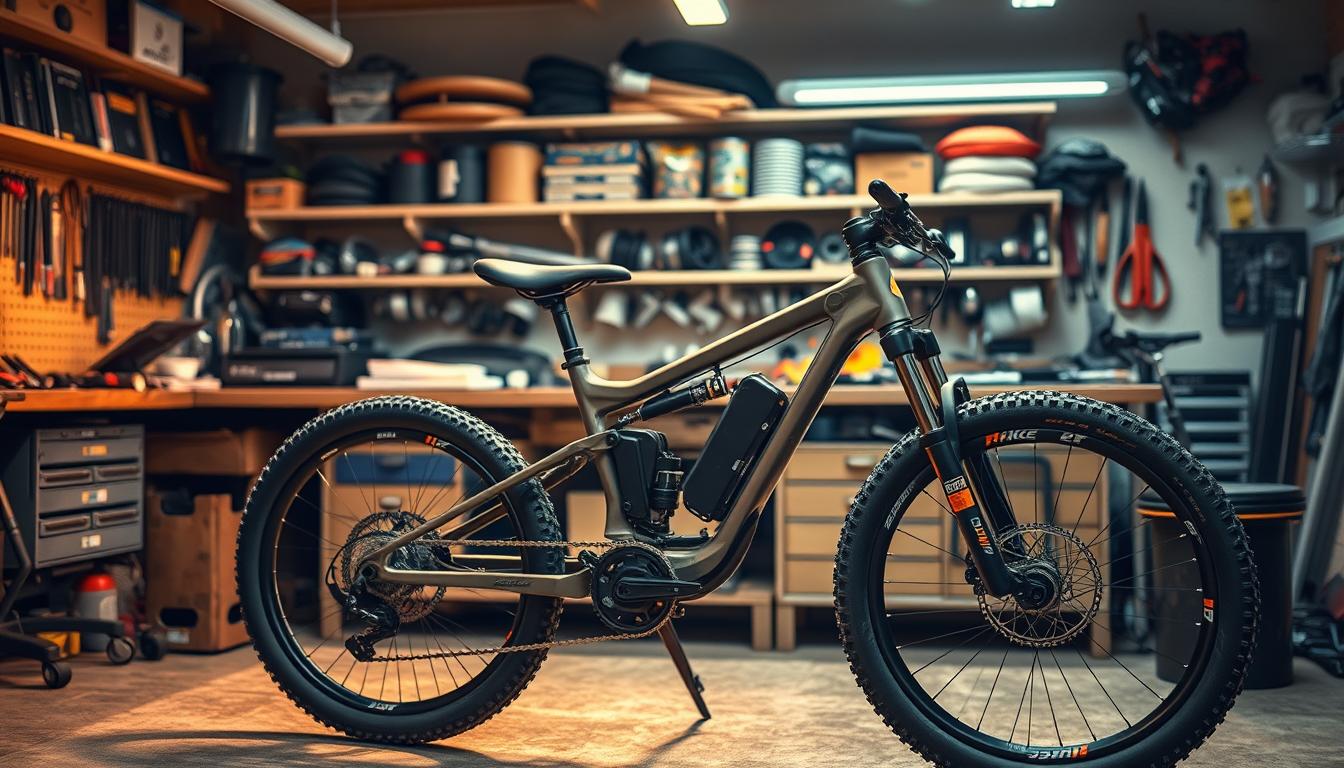
Electric mountain bikes (E-MTBs) need special brake care because of their unique features. Keeping brakes in top shape is key for safe and fun rides on tough trails1. Most modern mountain bikes use disc brakes, so knowing how to look after them is important1.
Brake parts need regular checks. Electric mountain bike brakes wear out faster than regular bike brakes. Brake pads usually last between 1,000 to 2,000 miles, depending on how you ride1.
It’s vital to regularly inspect your electric mountain bike’s brakes. Experts say to check brake pads at least once a month if you ride a lot2. Shimano and SRAM give clear rules for when to replace brake pads to keep your bike stopping well2.
Riding in wet or tough conditions can make brakes wear out faster. Keep an eye on your brakes for signs of wear, like not stopping as well or visible damage1. Knowing how to maintain your E-MTB’s brakes can make them last longer.
Understanding E-MTB Brake Systems
Electric mountain bikes (E-MTBs) need strong brakes for their extra weight and speed. Brake performance is key for safety and control on tough trails3.
Exploring Brake System Varieties
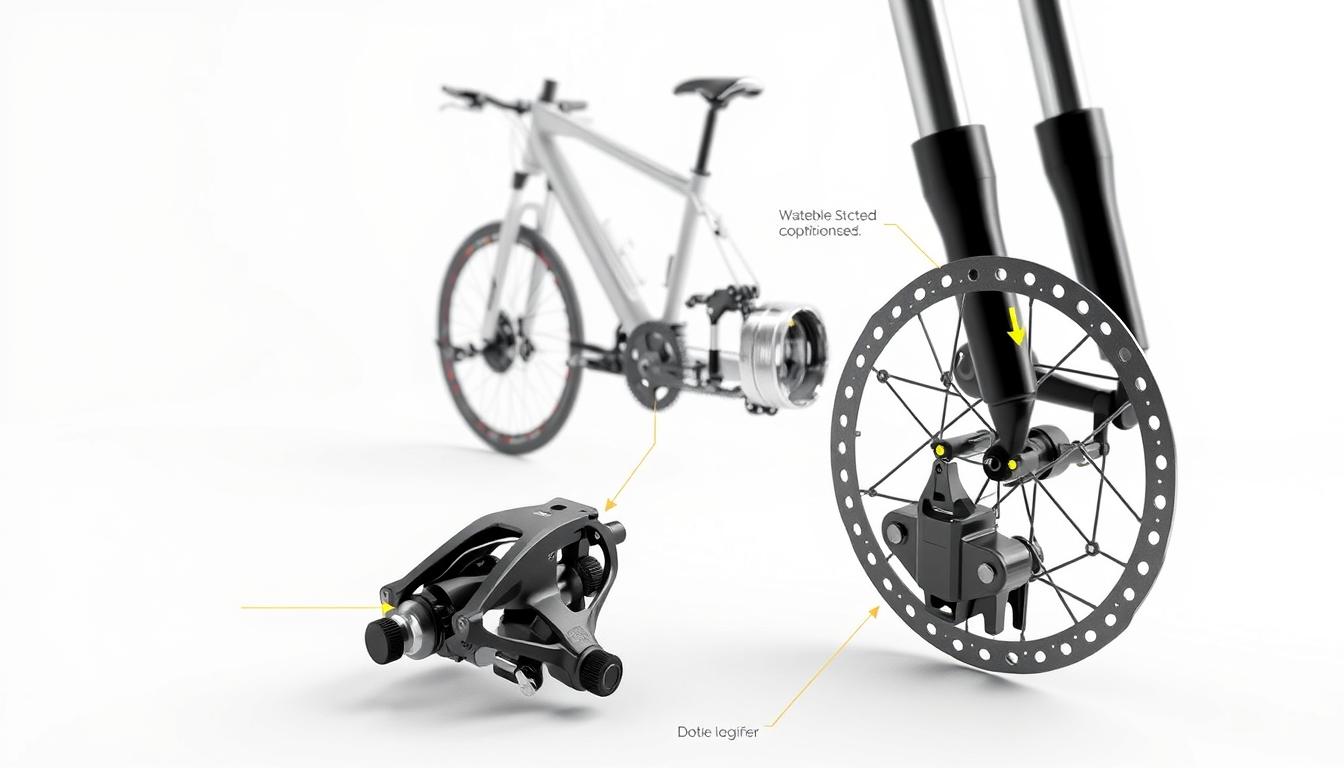
E-MTB riders have many disc brake options. The main types are:
- Hydraulic disc brakes
- Mechanical disc brakes
- Hydraulic brake systems with multiple piston configurations
Hydraulic disc brakes use brake fluid for precise stopping power4. They offer better control and modulation for fast rides3.
Essential Brake Components
Important parts of disc brakes are:
| Component | Function |
|---|---|
| Rotors | Heat dissipation and braking surface |
| Calipers | Housing brake pads and applying pressure |
| Brake Pads | Direct contact for stopping mechanism |
E-MTB vs Traditional Mountain Bike Brakes
E-MTB brakes are different from regular mountain bike brakes. They need enhanced durability for higher speeds and weight3. Rotor sizes range from 160mm to 203mm, helping with heat and stopping power4.
The front brake can handle up to 70% of braking force downhill. This shows how important a good hydraulic disc brake system is4.
Essential Tools and Materials for Brake Maintenance
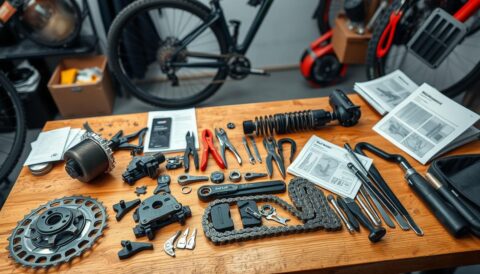
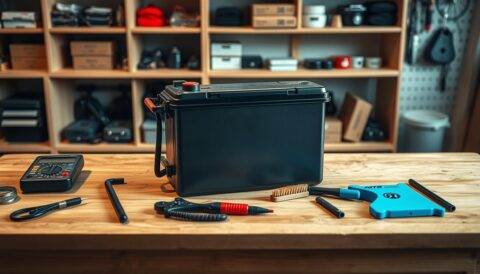
Getting your E-MTB toolkit ready is key for brake upkeep. With the right tools, you can handle most brake issues5. Your toolkit should have special items for the best brake performance and life.
Here are the must-have tools for E-MTB riders:
- Torque wrench for precise adjustments
- Brake pad caliper measuring tool
- Specialised disc brake cleaning solutions
- Clean microfibre cloths
- High-quality bicycle grease
- Cable tension gauge
Choosing the right cleaning products is vital for brake care6. Don’t use regular cleaners that can harm your brakes. Go for bike-specific cleaners made for disc brakes.
“A well-maintained brake system is the key to safe and confident riding.”
When picking brake tools, focus on quality over price. Even though top-notch tools might cost more, they save you money by avoiding damage5. Regular checks and upkeep can also make your E-MTB’s brakes last longer6.
Pro tip: Always keep your toolkit clean, organised, and easily accessible for quick maintenance checks.
Pre-Maintenance Safety Checks
It’s vital to check your electric mountain bike’s brakes regularly. Doing so ensures your bike works well and safely. Regular checks can stop accidents and make your bike last longer7.
Before you start any maintenance, do a full safety check. This step helps find problems early and keeps your brakes working right.
Visual Inspection Points
Start with a close look at your brakes. Check these important parts:
- Check brake pad thickness8
- Inspect brake cables for fraying or damage7
- Examine rotors for warping or excessive wear
- Verify hydraulic line integrity
Testing Brake Response
Brakes must work well for your safety. Regular checks can greatly lower accident risks8. Here’s how to test your brakes:
- Squeeze brake levers slowly and assess resistance
- Check for smooth and consistent stopping power
- Listen for unusual sounds during braking
Identifying Common Issues
Watch for these signs during your checks:
- Soft or spongy brake feel – possible air in the system
- Brake pad thickness less than 3mm8
- Unusual grinding or squealing noises
- Uneven brake pad wear
Regular checks can make your bike last longer and save you money8. Always put safety first and fix any problems quickly.
E-MTB Brake Maintenance Guide
Keeping your electric mountain bike’s brakes in top shape is key for safety and performance. Disc brakes are now the norm for bikes, with specific steps for e-MTB brake that every rider should follow9.
Looking after your e-MTB’s brakes involves a few important steps. Brake pads usually last between 1,000 to 2,000 miles. But, this can change based on where and how you ride9. Wet and gritty places can make brake parts wear out quicker9.
- Check brake pads often
- Look for minimum pad thickness (1 mm is best)
- Swap out worn parts right away
Hydraulic brakes need extra care. The bleeding process gets rid of air bubbles that can weaken braking9. E-bikes, being heavier, need stronger brakes. Hydraulic systems can give up to 30% more stopping power10.
Proper maintenance is the key to extending your e-MTB brake system’s lifespan and ensuring optimal performance.
For tricky repairs, you might need a pro, like for complex hydraulic parts9. Don’t use the wrong cleaning products like WD-40. It can mess up your brakes and mean you’ll have to replace parts9.
Proper Cleaning Techniques for Brake Components
Keeping your E-MTB’s brake components clean is vital for their performance and life. Cleaning brakes is a key part of E-MTB care that greatly affects your ride11.
Disc brakes are common in mountain bikes, and they need regular care to work well11. Brake pads usually last between 1,000 to 2,000 miles, based on how you ride11.
Choosing the Right Cleaning Solutions
Choosing the right cleaning products is important for brake cleaning. Isopropyl alcohol works well for cleaning rotors, best when diluted to 70%. It evaporates completely at room temperature12.
- Use bike-specific cleaning products
- Avoid contaminating brake pads and rotors
- Choose alcohol-based cleaners for best results
Step-by-Step Cleaning Process
For thorough E-MTB care, follow these cleaning steps:
- Check brake pads for wear (should not be less than 1 mm)11
- Clean pistons with Q-Tips13
- Clean brake surfaces in a circular figure-8 motion12
- Look for signs of dirt or excessive wear
Brake pistons need special care during maintenance. Clean them every time you replace brake pads to stop dirt from getting in13.
Pro tip: Regular maintenance prevents issues and makes your E-MTB’s brakes last longer.
Wet and dirty rides can wear out brake pads faster because of dirt and sand11. For tricky repairs, it’s best to get help from a pro11.
Brake Pad Inspection and Replacement
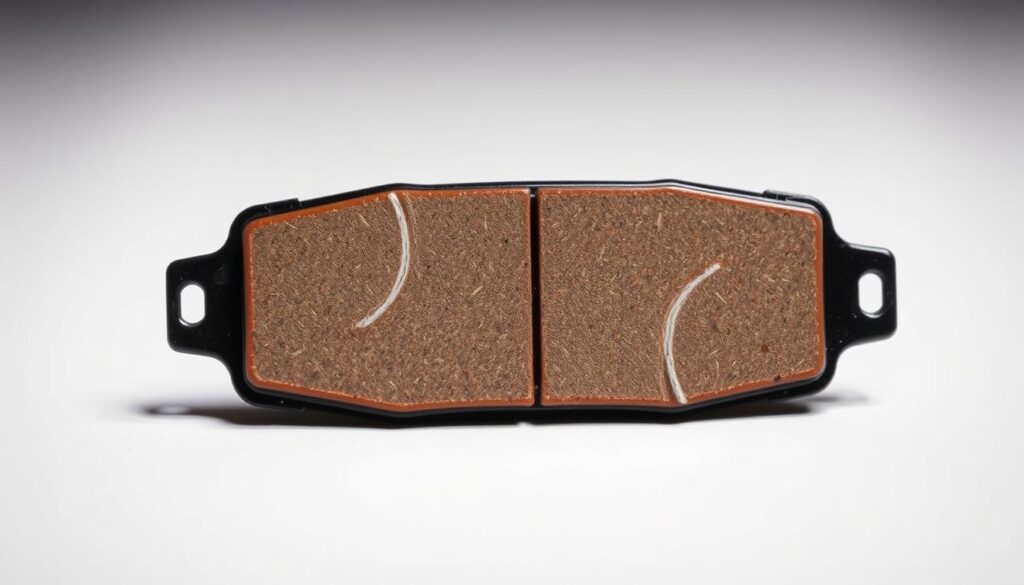
Keeping your E-MTB brake pads in good shape is key for safe and fun rides. Worn-out brake pads can really affect your experience, more so on electric mountain bikes that need to stop harder14.
When checking brake pads, watch out for these signs:
- Pad thickness of at least 1.5mm14
- Absence of contamination or oil residue14
- No visible chunks or missing pieces14
Think of pad thickness like a grain of rice, which is about 1.5mm thick14. E-MTBs need brake checks more often because they brake harder15.
Organic brake pads wear out faster than metallic ones, mainly in tough riding conditions15. When swapping pads, clean new rotors with isopropyl alcohol before putting them on to avoid dirt15.
Tip: Don’t touch new brake pads with your bare hands, as oils from your skin can harm them14. Always wear gloves when checking and replacing pads to keep brakes working well.
After putting on new pads, do the bedding-in process. This means doing 15-30 controlled brake stops to make sure braking is even and quiet15.
Brake Rotor Maintenance and Care
Keeping your E-MTB’s brake rotors in good shape is key for safety and performance. Regular checks, cleanings, and timely replacements are vital. This keeps your bike’s brakes working well16.
Learning about brake rotor care can make your bike last longer. It also makes your rides better.
Rotor Cleaning Methods
Cleaning your brake rotors right is important for good brakes. Here’s how to do it:
- Use isopropyl alcohol or a brake cleaner for a deep clean16
- Don’t use WD-40 as it can harm brake surfaces16
- Wipe the rotor with a clean, lint-free cloth
- Make sure it’s dry before putting it back together
When to Replace Rotors
It’s important to know when to change your brake rotors. Look out for these signs:
- Scoring or deep grooves on the rotor16
- Brakes not working as well as they should
- Need to stop further than usual
- Brakes get too hot during use16
Replace disc brake rotors if they’re less than 1.5 mm thick17. Regular checks prevent safety problems and keep your E-MTB in top shape16.
Pro tip: Do a full brake rotor check-up at least once a year. This keeps your E-MTB’s brakes at their best17.
Bleeding Hydraulic Brakes
E-MTB brake maintenance is key to top-notch braking. Hydraulic brake bleeding removes air bubbles, which can harm brake performance18. Air in the lines makes the lever feel spongy and weakens braking19.
Knowing how to bleed brakes right is vital. Here are some important points:
- Use the correct brake fluid for your E-MTB18
- Take off the wheel before you start19
- Keep the bleed funnel at a 45-degree angle18
The bleeding process has several key steps:
- Get a bleed kit and the right brake fluid ready
- Clear out old fluid and air bubbles
- Do the “burp” method to get rid of any last air18
After bleeding, make sure the brake lever feels firm. If it’s soft, you need to bleed again1819.
| Maintenance Aspect | Recommended Action |
|---|---|
| Fluid Condition | Replace if black or discoloured19 |
| Bleed Nipple Torque | 4-6 Nm18 |
| Lever Bleed Screw Torque | 1 Nm18 |
Regular brake bleeding keeps your E-MTB braking at its best. It’s all about safety and performance.
Preventing Brake Contamination
Looking after your E-MTB’s brakes is key for safety and performance. Brake dirt can really hurt your bike’s stopping power. This can make it harder to stop and is a safety risk20.
Common Contamination Sources
Knowing where brake dirt comes from is the first step to stop it. Many things can harm your E-MTB’s brakes:
- Chain lube overspray20
- Tubeless tyre sealants20
- Touching rotors with bare hands20
- Using the wrong cleaning products
Protection Methods
It’s important to protect your brakes to keep them working well. Here are some tips for E-MTB brake care:
- Clean rotors with isopropyl alcohol after each ride20
- Don’t use compressed air or the wrong sprays near brakes20
- Be careful with bike-specific brake cleaners20
- Check brake pads often for dirt signs21
Remember: Prevention is always better than costly repairs!
If brake pads get dirty, you might be able to clean them lightly with sandpaper20. But if it’s really bad, you’ll need to replace them20.
By keeping up with maintenance and being careful, you can make your E-MTB’s brakes last longer. This means safer and more reliable rides every time21.
Troubleshooting Brake Issues
Brake problems can really affect your e-mountain bike’s performance and safety. It’s important to know about common E-MTB brake issues and how to fix them. This keeps your bike in top shape for riding2223.
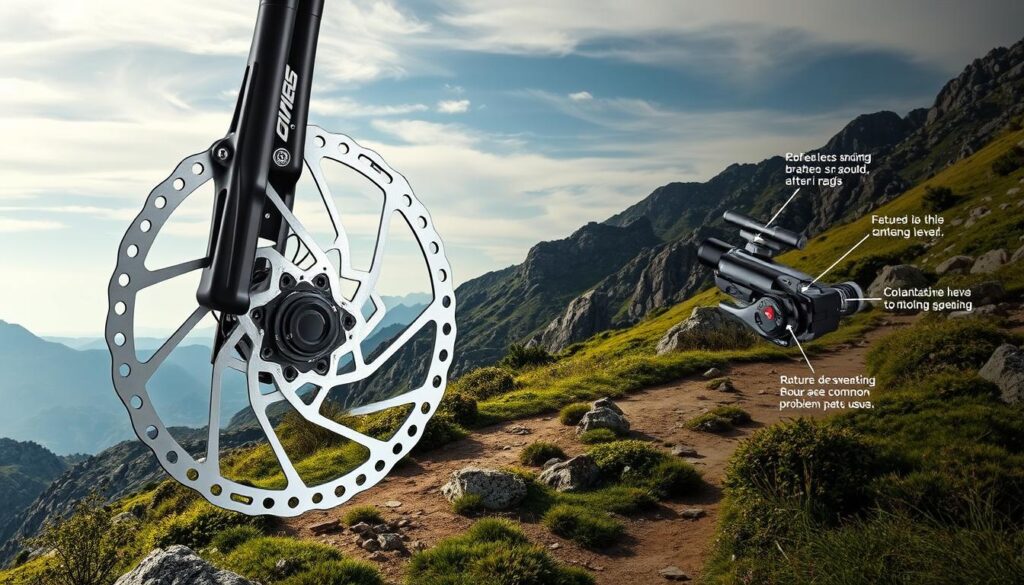
- Squealing Brakes: This is often due to dirty rotors or worn-out brake pads23
- Loss of Braking Power: Air bubbles in the hydraulic system can cause this23
- Uneven Pad Wear: This usually means the brake callipers are not aligned right23
E-MTB brakes need careful upkeep because they work harder. E-bikes are heavier than regular bikes, which means brake parts wear out faster24.
| Brake Issue | Potential Cause | Recommended Action |
|---|---|---|
| Soft Brake Lever | Low Hydraulic Fluid | Check and Refill Brake Fluid22 |
| Brake Pad Wear | Excessive Usage | Replace When Below 3mm Thickness22 |
| Rotor Vibration | Warped Rotor | Inspect and Potentially Replace22 |
Regular cleaning and checks are key to keeping brakes working well. Use isopropyl alcohol or special cleaners for brake parts24. If you’re stuck, it’s best to get help from a pro23.
Pro Tip: Prevention is always better than cure when it comes to E-MTB brake maintenance!
Seasonal Brake Maintenance Tips
Looking after your E-MTB’s brakes is key all year round. It’s vital for top performance and safety on your rides25. Different weather brings its own set of challenges, so staying ahead is important.
Knowing how the weather affects your brakes is the first step. Temperature and where you ride can change how well your brakes work and last25.
Winter Brake Care Strategies
Winter brings special challenges for E-MTB brakes. Cold weather can change how brake fluid works and how parts perform. Here are some winter tips:
- Clean brakes well after each ride to get rid of salt and water25
- Keep your E-MTB in a place with a steady temperature26
- Check brake cables for damage from frost
- Use special lubricants for cold weather
Summer Brake Maintenance Approach
Summer riding needs a different plan. Dust, mud, and more rides can wear out brakes faster. Here’s what to do in summer:
- Keep brake parts clean to stop dirt from building up25
- Check brake pads often for wear25
- Look for any warping on rotors from heat
- Make sure brake fluid is at the right level and quality
Regular care stops expensive fixes and keeps rides safe and fun25.
Adjusting your brake care with the seasons will keep your E-MTB running well and parts lasting longer26.
Professional vs DIY Maintenance
Understanding when to fix E-MTB brakes yourself and when to get help is key. DIY can be fulfilling, but some jobs need a pro’s touch27. Modern e-bikes have made bike repair more complex27.
Professional E-MTB services have big benefits. They use special tools and know-how that home kits can’t match27. While DIY can cut costs, pros are vital for tricky brake systems.
- DIY maintenance suitable tasks:
- Basic brake pad inspection
- Routine cleaning
- Minor adjustments
- Professional service recommended for:
- Complex hydraulic brake bleeding
- Advanced diagnostic checks
- Precision component replacements
Think about your skills and what you can afford. Pros might cost about £300 for detailed work27. Starting a DIY tool set can cost around £20027. Riders should check brakes every 3-4 months28.
Remember: Your safety depends on properly maintained brakes.
For electronic diagnostics or special knowledge, E-MTB pros are a must. While you can do simple tasks, modern e-bikes need more pro help27.
Extending Brake Life Through Proper Usage
Learning how to make your E-MTB brakes last longer starts with knowing how you ride. Using brakes wisely can help them last longer29. It’s better to brake smoothly than to stop hard, which wears them out faster.
It’s important to brake differently depending on the terrain. When going down hills, try to control your speed and use both brakes30. E-bikes need brakes checked more often because they are heavier and go faster30.
Keeping an eye on your brakes is vital. Check the brake pads every 3-6 months to make sure they’re not too thin29. Also, clean the brake surfaces often to keep them working well. Following these steps will help your E-MTB brakes last longer and make your rides safer and better.
FAQ
How often should I check my E-MTB brake pads?
Regular riders should check brake pads every 500-1000 kilometres or monthly. E-MTBs need more frequent checks because of their extra weight and power. Look for wear signs like thinning or uneven wear.
Can I use regular cleaning products on my E-MTB brakes?
No, use bike-specific cleaners only. Household cleaners can harm brake pads and rotors. Clean rotors with isopropyl alcohol and use special brake cleaning solutions for other parts.
How do I know when my brake rotors need replacement?
Look for warping, scoring, or if the rotor is too thin. Rotors should be replaced when they’re uneven, cracked, or less than 1.5mm thick.
What’s the difference between hydraulic and mechanical disc brakes?
Hydraulic brakes use fluid for better, more consistent braking. Mechanical brakes need more effort and can be less precise. Most E-MTBs use hydraulic brakes for better performance.
How often should I bleed my hydraulic brakes?
Bleed your brakes annually or every 1000 kilometres. If the brake lever feels spongy or braking is weak, bleed them sooner. Riding in tough conditions may require more frequent maintenance.
What causes brake contamination?
Contamination comes from chain lubricants, dirt, oils from skin, and wrong cleaning. Avoid touching rotors with bare hands. Use the right cleaning products and be careful when lubricating nearby bike parts.
Can I replace brake pads myself?
Yes, replacing brake pads is doable for those with basic skills. You’ll need tools like hex keys and a pad alignment tool. But, if unsure, it’s best to get a professional mechanic.
How do seasonal changes affect my E-MTB brakes?
Seasonal changes impact brakes a lot. Winter moisture and cold can affect fluid and function. Summer dust and heat increase wear. Always clean and check brakes after tough rides and adjust maintenance as needed.
What are signs that my E-MTB brakes need professional servicing?
Watch for squealing, weak braking, uneven wear, fluid leaks, or a spongy lever. If simple fixes don’t work or you’re not confident, get professional help.
How can I extend the life of my E-MTB brakes?
Use efficient braking techniques like:
– Avoid long, continuous braking on descents
– Use both brakes evenly
– Anticipate stops to avoid sudden braking
– Keep components clean
– Regular maintenance
– Stay away from very muddy or dusty rides
Source Links
- Guide to Disc Brake Cleaning and Maintenance | Pauls Cycles Advice Hub
- How to properly maintain an electric mountain bike | Velosurance
- Guide To Electric Bike Brakes – Electric Bike Report
- The easy-to-understand guide to brakes
- E-Bike Brake Guide: Performance & Maintenance & Safety | Himiway
- Guide to Disc Brake Cleaning and Maintenance | Pauls Cycles Advice Hub
- Electric Bike Maintenance Checklist – Maintaining Your E-Bike – Leisure Lakes Bikes Blog
- E-Bike Maintenance | A Comprehensive Manual
- Guide to Disc Brake Cleaning and Maintenance | Pauls Cycles Advice Hub
- E-Bike Brakes: Vital Safety, Performance & Maintenance Guide
- Guide to Disc Brake Cleaning and Maintenance | Pauls Cycles Advice Hub
- Back to Basics: How to Clean Mountain Bike Brakes
- NSMB.com – Clean Your Brake Pistons!
- Velotric: Ebike Brake Pad Inspection & Replacement Guide
- How to Replace Your Bike’s Disc Brake Pads and Rotors | Liv Cycling
- Guide to Disc Brake Cleaning and Maintenance | Pauls Cycles Advice Hub
- Electric Bike Maintenance Guide: Exploring Six Essential Areas – Electric Bicycle Company
- How to Bleed Shimano® Flat Bar Hydraulic Brakes
- How to Bleed Hydraulic Brakes on an eBike
- How to clean disc brakes on a bicycle
- The Ultimate Guide to Electric Bike Brake Service and Maintenance Tips – San Diego Electric Bike Service & eBike Repair Near Me
- Why Is My Electric Bike Brake Not Responsive? How to Fix It?
- Guide to Disc Brake Cleaning and Maintenance | Pauls Cycles Advice Hub
- Disc brakes maintenance and pads replacement – short tutorial
- Ultimate Ebike Maintenance Guide: Battery, Brakes, Tires & More!
- How To Maintain Your Electric Bike | Halfords UK
- Are Modern Bicycles the End of DIY Maintenance?
- Velotric’s Essential E-Bike Maintenance Guide
- Mastering Your Ride: How to Adjust Brakes on E-Bike for Optimal Performance
- Electric Bike Maintenance: What You Need to Know to Keep Your E-Bike in Top Shape
