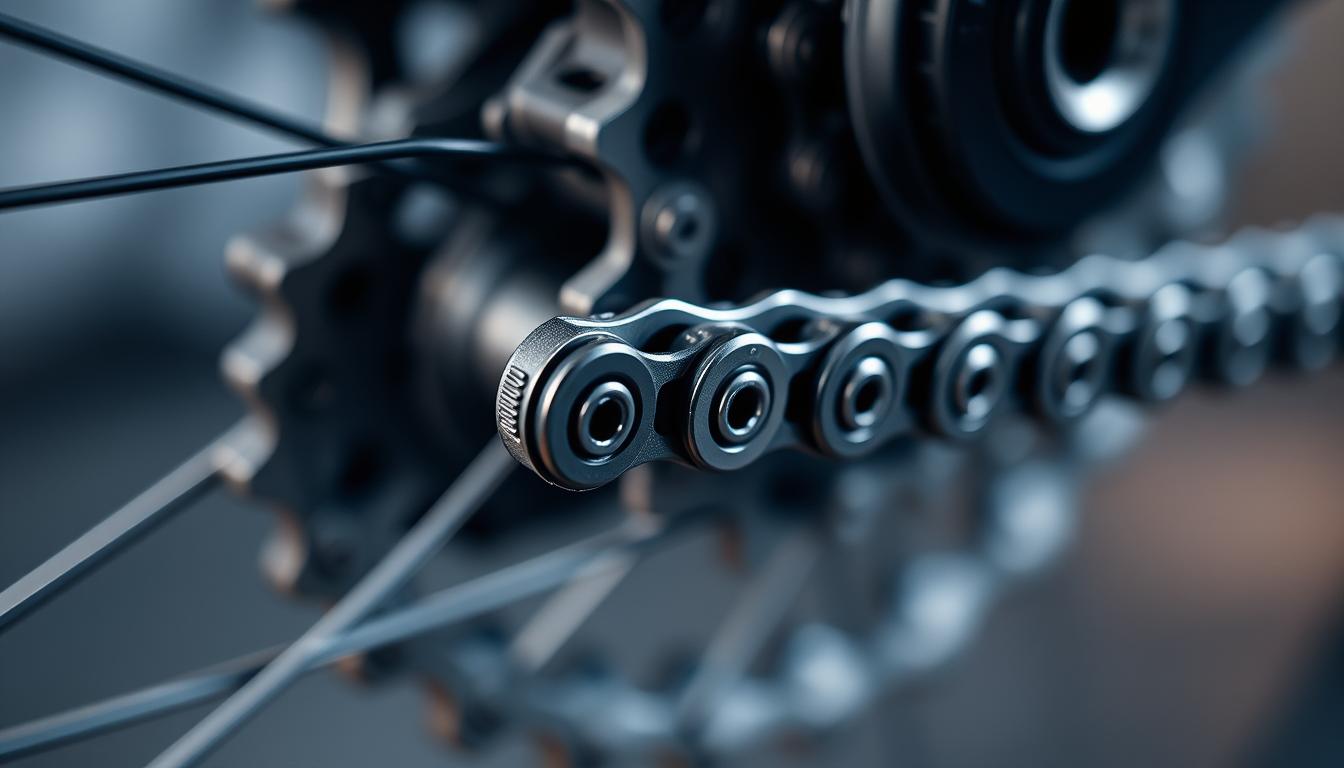
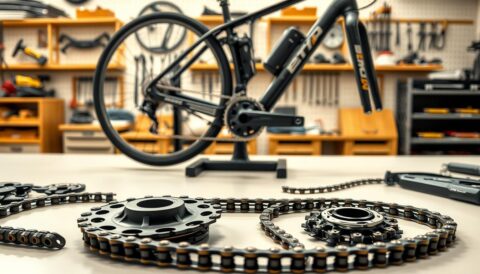
E-MTB maintenance is key for riders wanting top performance and bike longevity. Electric motors wear out parts faster, making regular chain and cassette replacement vital1.
Learning to replace your chain yourself can save a lot of money. Modern e-MTB chains have a master link, making removal easy2. Yet, about 70% of mountain bikers forget to check their chain regularly, risking expensive damage1.
Knowing your e-MTB’s maintenance needs can stop parts from failing early. A mountain bike chain lasts between 1,500 to 3,000 kilometres, depending on how you ride and maintain it1. Taking good care of your chain can make shifting smoother by up to 20% and cut down on maintenance costs2.
This detailed guide will show you how to replace your chain, helping you keep your e-MTB in top shape. You’ll learn about the right tools and how to spot wear, ensuring your drivetrain stays in great condition.
Understanding Chain and Cassette Wear on E-MTBs
E-MTB drivetrain wear is key to keeping your bike in top shape. The extra power from electric motors speeds up wear. So, it’s vital to check your bike often3.
Chain stretch is a big sign of wear. A new chain is 12 inches across 12 links. But, as it wears, it gets longer. You should replace it when it’s over 12 1/16 inches long, showing about 0.5% stretch3.
- Recommended chain replacement frequency for E-MTBs:
It’s also important to check cassette wear signs. Modern bikes with single chainrings put more stress on the chain. Look out for shark-toothing on the cogs, which means it’s worn out.
Replacing your chain on time can make your cassette last longer. A cassette can last up to five chains if you replace the chain at 0.5% wear3. This can save you a lot of money3.
- Chain width varies by drivetrain:
- 10-speed: 6mm
- 11-speed: 5.5mm
- 12-speed: 5.3mm
- 13-speed: 4.9mm4
Regular care and knowing about wear can keep your E-MTB’s drivetrain in great shape. This ensures your bike runs smoothly4.
Essential Tools and Materials Needed
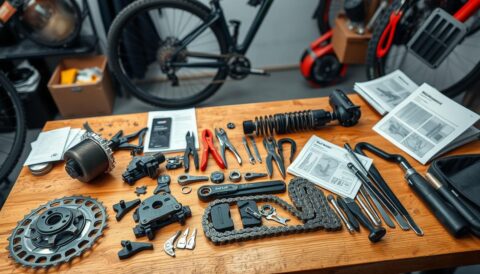
Getting ready for E-MTB maintenance means having the right tools. The right gear makes fixing your bike’s chain and cassette easy. This stops damage and keeps your electric mountain bike running well for longer1.
Knowing what tools you need is key for keeping your bike in great shape. We’ll look at the must-haves for chain and cassette upkeep.
Chain Maintenance Tools
Chain care needs precision and the right tools. Here’s what you’ll need:
- Chain tool: Essential for breaking and reconnecting chains1
- Master link pliers: Critical for 90% of modern chains with master links2
- Chain wear indicator: Helps identify when replacement is necessary1
Cassette Removal Tools
Removing and replacing cassettes needs special tools:
- Cassette lockring tool: Crucial for removing rear cassette2
- Chain whip: Used by 75% of cyclists for cassette removal2
- Adjustable wrench: Assists in final tightening
Additional Equipment
| Tool | Purpose | Estimated Cost |
|---|---|---|
| Repair stand | Provides stable workspace | £50-£150 |
| Degreaser | Chain and component cleaning | £10-£20 |
| Lubricant | Chain protection and performance | £15-£30 |
Good tools can cut maintenance time by 25% and avoid expensive errors1. Pros say having a set of E-MTB tools is vital for the best bike performance2.
Pro tip: Always clean and lubricate your tools after use to maintain their effectiveness and longevity.
Safety Precautions Before Starting
Getting ready for e-MTB maintenance is all about safety. E-MTB maintenance safety starts with the right preparation and knowing the risks5. The first thing to do is battery removal, which removes electrical dangers during your work5.
When you’re setting up your work area preparation, remember these key safety tips:
- Choose a well-lit, clean workspace with enough room to move around
- Wear protective gloves to avoid cuts and grease marks
- Make sure there’s good air flow if you’re using lubricants or cleaning products
- Keep your workspace tidy and free from extra clutter
Battery safety is very important during e-MTB maintenance. Always take out the battery before starting any work5. Keep the battery at room temperature and charge it between 30-60% when not in use following the recommended battery care practices5.
Safety isn’t just about protective gear—it’s about creating a methodical approach to bicycle maintenance.
Always check your e-MTB manufacturer’s manual for special safety tips. Different models might have their own needs that could change your maintenance plan5.
How to Replace an E-MTB Chain and Cassette
Getting ready for an E-MTB chain replacement needs careful planning. You must know the steps of drivetrain maintenance6.
Before starting, gather all the tools you need. Also, understand the steps to prepare for the replacement. Replacing the cassette requires precision and the right tools7.
Workspace Preparation
Creating a good workspace is key for a smooth replacement. Here are some important points:
- Find a clean, well-lit area with enough space
- Use a strong bike stand for stability
- Have all tools ready before starting
- Use a maintenance mat to protect the floor
Initial Component Inspection
Doing a detailed check first helps avoid problems later. Look at these important areas:
- Use a special tool to check chain wear6
- Check if the derailleur is aligned and works right
- Make sure the chainring and cassette teeth are in good shape
- Check if the chain fits your E-MTB’s drivetrain7
It’s best to replace bike chains before they wear down to 75%. Waiting too long can harm expensive parts6.
Pro tip: Always match your chain to your bike’s speed. An 8-speed bike needs an 8-speed chain, and a 12-speed bike needs a 12-speed chain6.
Good preparation makes replacing the E-MTB chain easy. It keeps your bike running well and lasts longer7.
Removing the Old Chain
Removing an E-MTB chain needs care and the right tools. First, get your chain tool ready and clean your workspace8. Chains wear out and need to be replaced, so knowing how to remove them is important8.
Start by figuring out what type of chain you have. Most chains work with Shimano and SRAM parts8. You must decide if your chain has a master link or if you need to break it with a tool.
- Look for a special connecting link on the chain
- Check if the chain has a removable master link
- Get your chain tool ready for breaking the chain
When using a chain tool, be very precise. Aligning the tool correctly is vital to avoid damaging the chain8. The pin must sit flat against the outer plate of the link for best results8.
Pro Tip: Always check the flexibility of the joined link to ensure proper function after removal.
After taking off the chain, check its condition. Look for wear signs, like teeth on the chainrings that look like a shark’s tooth8. This means it’s time for a new chain.
Adjust the chain length to get the right tension on the rear derailleur8. Remember, an internal link must be paired with an external link for correct installation89.
Proper Chain Length Measurement
Finding the right E-MTB chain length is key for smooth riding and avoiding damage. Chain sizing needs careful thought, more so for bikes with full suspension.
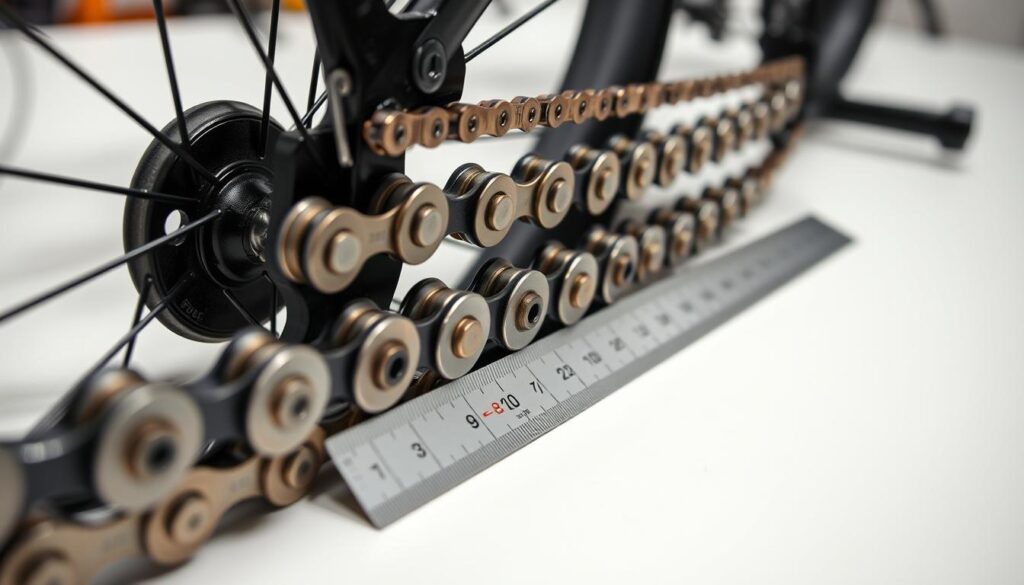
When measuring chain length, riders must think about a few important things:
- Suspension design characteristics10
- Rear cog size10
- Potential chain growth during suspension travel11
Using the Old Chain as Reference
Your current chain is a good starting point. Make sure it’s not stretched or worn out before using it11. A worn chain can wear out other parts by about 25% if not replaced11.
Calculating New Chain Length
To get the right E-MTB chain length, follow these steps:
- Measure the chain with the largest rear cog10
- Run the chain through the derailleur10
- Add two extra rivets for the right length10
E-MTB Specific Considerations
Full suspension E-MTBs need extra care when sizing chains. Chain growth when the suspension compresses can change what length you need11. Make sure the chain can move smoothly through all suspension travel11.
Pro tip: Always check chain orientation when using Power Links to prevent problems11.
Removing the Rear Wheel
Removing the rear wheel of an electric mountain bike needs careful steps. First, make sure you know the right way for your bike. The method changes if your bike has a quick-release or thru-axle system12.
Getting ready is important for removing the E-MTB wheel. Here are the key steps:
- Turn off the e-MTB’s power system12
- Remove the battery to reduce weight and prevent electrical issues12
- Shift to the smallest rear cog to create chain slack13
- Release the brake mechanism12
For quick-release systems, flip the lever open and unscrew it. Thru-axle systems need special tools and a different method13. Be careful with the motor cable, which must be unplugged and tied back with a zip tie13.
| Wheel Removal System | Key Considerations |
|---|---|
| Quick Release | Lever-based removal, simple mechanism |
| Thru-Axle | Requires specific tools, more secure connection |
When working with e-MTBs, be extra careful. Electric bikes with rear-mounted motors may need extra help because they’re heavier12. Always check with your local dealer if you’re not sure about removing the wheel13.
Pro tip: Keep track of all small parts. Make sure you have the right Allen wrench sizes for your e-MTB model. Sizes usually range from 4mm to 5mm for retainer and derailleur guard bolts13.
Cassette Removal Techniques
Removing a cassette from an E-MTB needs precision and the right tools. A chain whip is key, starting at £6, making it a budget-friendly choice for bike care14. The task can be tough, with some finding it hard to loosen stubborn cassettes14.
- Chain whip
- Lockring tool
- Adjustable wrench
- Protective gloves
The lockring tool is vital for removing the cassette. It’s wise to wear protective gear, as DIY methods can harm you14. Some riders use a rag or glove to get a better grip and keep their hands safe14.
| Tool | Purpose | Recommended |
|---|---|---|
| Chain Whip | Prevents cassette from spinning | Essential |
| Lockring Tool | Removes lockring mechanism | Critical |
| Adjustable Wrench | Provides additional leverage | Helpful |
Experts say proper tools make cassette removal easier. While some spend hours trying DIY, the right tools save time and protect your E-MTB’s gears14.
Cleaning and Inspecting the Freehub Body
E-MTB freehub maintenance is key to keeping your bike running smoothly. It helps your e-bike’s drivetrain last longer. Knowing how to clean and lubricate the freehub is essential.
When you take off the cassette, it’s important to check the freehub body carefully. Regular checks stop mechanical problems and keep your ride great.
Identifying Common Wear Points
When cleaning the freehub, look out for these signs of wear:
- Visible scoring or gouges on the aluminium surface
- Unusual resistance when spinning the freehub
- Visible rust or corrosion
- Damaged or worn pawl mechanisms
Lubrication Strategies
Choosing the right lubricant is key. Use a special grease made for bike hubs15. Put on a thin layer to avoid problems like cassette slippage or hard removal15.
| Maintenance Task | Recommended Frequency |
|---|---|
| Freehub Inspection | Every 3-6 months |
| Freehub Cleaning | During cassette removal |
| Lubrication | Annually or after intense riding |
For freehub upkeep, use clean, lint-free cloths. Avoid too much grease, as it can attract dirt and mess.
Installing the New Cassette
Installing an E-MTB cassette needs precision and attention to detail. It’s important to align the cassette properly for the best performance and smooth shifting16. Make sure to fit it securely and accurately on the freehub body during installation.
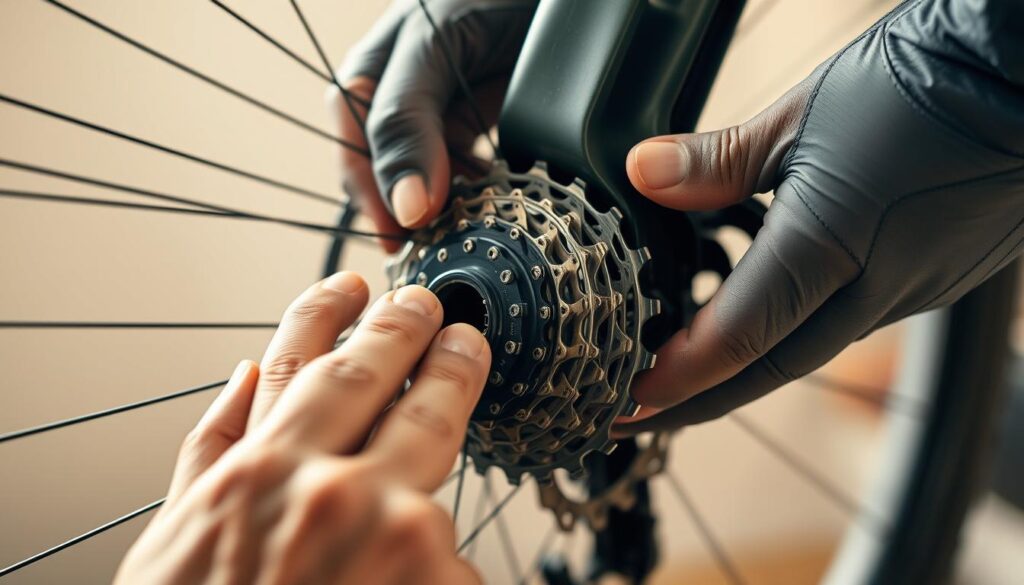
The cassette installation process has several key steps:
- Clean the freehub body well
- Look for any damage or wear
- Align the cassette splines carefully
When placing the cassette, focus on the torque specifications. The lockring should be tightened between 8 to 10 Newton meters16. Wrong torque can cause shifting problems or damage to parts17.
| Cassette Type | Typical Torque Range | Special Considerations |
|---|---|---|
| Standard Cassette | 8-10 Nm | Careful alignment required |
| E-MTB Specific Cassette | 8-10 Nm | Check hub motor compatibility16 |
Pro tip: Always double-check the cassette alignment and ensure all components are seated correctly before final tightening. The installation process can vary slightly depending on your specific E-MTB model and drivetrain system17.
Fitting the New Chain
Installing an E-MTB chain needs precision and attention to detail. It’s important to get the chain routing and master link fitting right for the best bike performance and life18. Knowing how to install a new chain is key for a smooth ride.
Chain Orientation and Preparation
Bicycle chains are directional, with special markings for correct installation19. Here are the main steps for E-MTB chain installation:
- Look for directional arrows or manufacturer markings on the chain
- Make sure it’s installed correctly inside or outside
- Check the chain for any defects from the factory
Master Link Installation
Master link fitting is a key part of chain installation1. Follow these steps for a secure fit:
- Align the master link carefully
- Make sure both tabs are securely in place
- Turn the crank backward to engage the link
- Apply gentle pressure to check the connection
Chain Routing Techniques
Getting the chain through the derailleur right is vital for it to work well18. The chain should go around:
- Lower jockey wheel
- Upper jockey wheel
- Cassette sprockets
Tension and Final Checks
Chain tension is key for the best performance1. Watch out for these issues:
| Tension Issue | Potential Consequence |
|---|---|
| Chain Too Short | Overstretched rear derailleur |
| Chain Too Long | Reduced shifting performance |
Pro tip: Always test the chain by rotating the pedals and checking smooth movement through the drivetrain.
Testing and Adjusting
After installing your new chain and cassette, it’s time for E-MTB drivetrain tuning. Start by checking the gear shifting mechanism. Make sure it shifts smoothly without any jumps or hesitations20. You might need to adjust the cable tension, adding a quarter-turn at a time for the best results20.
Checking the chain tension is key, and it’s important across all gear ranges. Full-suspension E-MTBs can have changing chain tension due to suspension movement. Use a chain wear checker to see if your chain is wearing out. Remember, 0.5% wear is when you should replace it, according to manufacturers for 11 and 12-speed chains2120.
When you first start riding, stay away from high-power modes and keep an eye on gear indexing. Regular checks, like monthly chain wear inspections, help avoid damage and make your components last longer20. A well-lubricated and tensioned chain makes for a smoother ride and better E-MTB performance21.
FAQ
How often should I replace the chain and cassette on my E-MTB?
E-MTBs need more frequent chain and cassette replacements. This is because the electric motor adds extra torque. Riders should check chain wear every 1,000-1,500 kilometres. Full replacement is advised around 2,000-3,000 kilometres, based on riding conditions and maintenance.
What are the signs that my E-MTB chain needs replacing?
Look out for visible chain stretch and trouble shifting gears. Shark-toothing on cassette cogs and grinding noises are also signs. A chain wear indicator tool can measure chain elongation accurately.
Do I need special tools to replace my E-MTB chain and cassette?
Yes, you’ll need specific tools like a chain breaker and master link pliers. Also, a chain whip, lockring tool, and a torque wrench are essential. Quality tools ensure a safe and proper replacement for your electric mountain bike’s drivetrain.
Can I replace the chain and cassette myself, or should I visit a professional bike shop?
If you have mechanical skills and the right tools, you can replace your E-MTB chain and cassette. But, if you’re unsure, it’s best to see a professional bike mechanic. They know how to handle electric mountain bikes.
How does the electric motor impact chain and cassette wear?
The electric motor’s extra torque and power wear out components faster. This is true, even when using high-power modes or tackling steep terrain. E-MTB drivetrains face more stress than traditional mountain bikes, needing more frequent maintenance and replacement.
What safety precautions should I take when working on my E-MTB?
Always remove the battery before maintenance. Work in a well-lit, clean area. Wear protective gloves and ensure a stable work surface. Always follow your E-MTB manufacturer’s manual for safety instructions.
How do I determine the correct chain length for my E-MTB?
Measure the chain using the old chain as a reference. Consider any stretch. For full-suspension E-MTBs, account for changing chainstay length. If unsure, use the manufacturer’s recommended method or consult a professional bike mechanic.
What maintenance can help extend the life of my E-MTB chain and cassette?
Regular cleaning and proper lubrication are key. Avoid extreme power modes and clean the drivetrain after muddy or dusty rides. Use specific E-MTB chain lubricants for the best results.
Source Links
- How to: Replacing the MTB Chain
- How To: MTB Cassette Replacement Made Easy!
- When Should You Replace The Chain On Your eMTB?
- Bicycle chains explained – everything you need to know
- E-Bike Season Start Checkup: Tips for Safe Rides
- How to Repair or Replace A Bike Chain
- How to replace a bicycle chain
- How to replace a bicycle chain
- Cassette Removal and Installation
- Chain Length Sizing
- How to replace a Chain and find the Correct Length
- How to Remove Electric Bike Rear Wheel (Step-by-Step Guide)
- How To Remove And Reinstall The Rear Wheel On Your E-Bike
- Tech question: removing cassette without a chain whip?
- Troubleshoot and Fix Bike Chain Slipping – Velotric
- E-Bike Gear Upgrade: Switch From Freewheel To Cassette – Voltriderz
- Installation guide: SRAM Eagle Transmission – Detailed explanation of the installation of the new groupset
- How to Install a New Chain on an E-Bike
- Installing a new chain – length and direction | BetterShifting.com
- How to Adjust a Bike Derailleur | Liv Cycling
- How To Replace A Bike Chain | Halfords UK
